You've downloaded your type beat, the license is sorted, and now it's just you, a mic, and a blank vocal track. Here's how to get a take at home that sounds like it belongs on the record — no treated studio required.
What you actually need
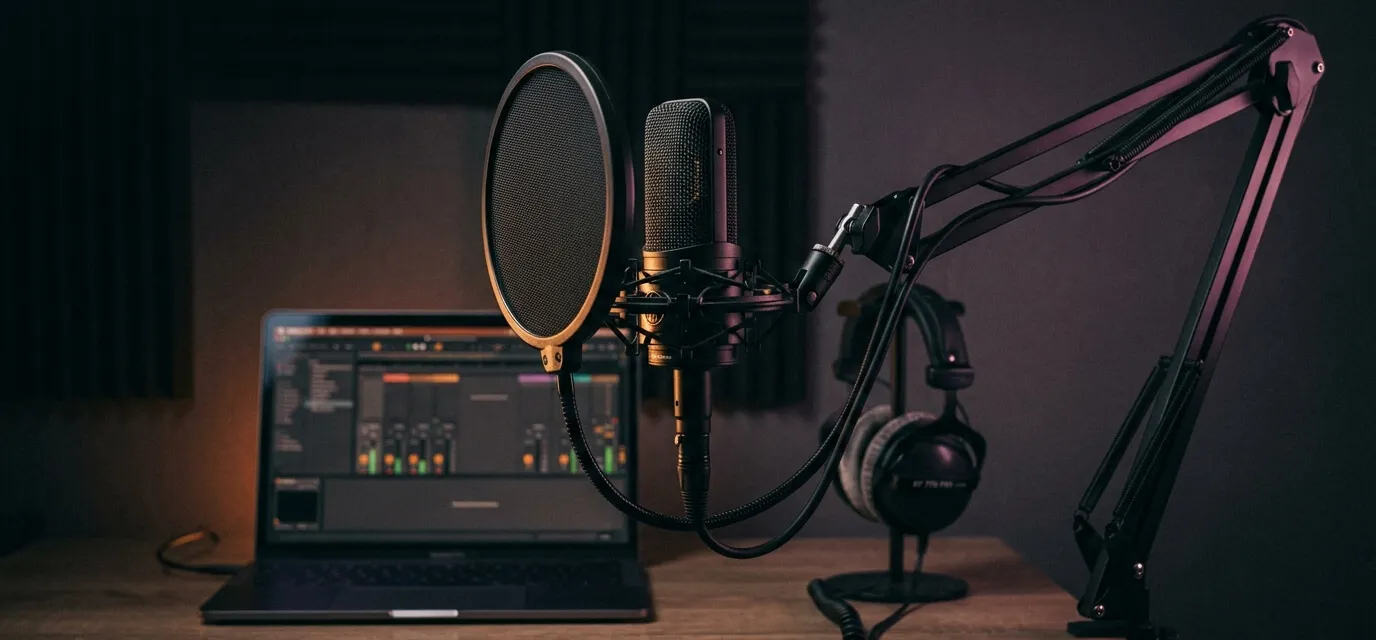
You don't need a $10,000 setup to get a clean vocal. The realistic starting kit is a USB or XLR condenser microphone, an audio interface if you're going the XLR route, a pair of closed-back headphones, and a DAW — Logic, FL Studio, Ableton, GarageBand, whatever you already know. That's it. The mic and the room it's sitting in matter far more than the price tag on your interface.
One thing worth spending on early: a pop filter. It's a $15 fix for the plosive "p" and "b" blasts that are otherwise a pain to repair after the fact.
Treat the room before you touch the mic
Untreated rooms are the single biggest reason home vocals sound amateur — not the mic, not the interface. Hard, parallel walls bounce sound back into the microphone as reflections, which shows up as a thin, boxy, "recorded in a bathroom" quality no amount of mixing fully removes.
You don't need foam panels to fix this. A closet full of clothes is one of the most effective vocal booths there is — clothing absorbs reflections almost as well as dedicated acoustic panels. No closet? Hang moving blankets or thick duvets on the walls around you, record on carpet instead of hardwood, and keep the mic away from bare corners.
Lock your take to the beat
Before you hit record, make sure the beat is actually on the grid in your DAW — import it, find the BPM (most Hot Tize files list it in the filename), and set your project tempo to match. Recording to a beat that isn't tempo-mapped is how you end up drifting out of the pocket by the second verse without noticing.
Do a few practice run-throughs with the beat looping before you record anything. You're listening for where the pocket sits — slightly on top of the beat, dead center, or laid back behind it — so your delivery matches the groove instead of fighting it.
Mic technique that keeps takes clean
Keep a consistent 6–12 inches between your mouth and the mic. Closer adds warmth and bass proximity effect — good for intimate, moody sections, less good for a belted hook. Moving around while you perform is fine and often makes for a better take, just try to keep the distance roughly consistent so your levels don't jump around.
Set your gain so your loudest ad-libs peak around -6dB, leaving headroom instead of clipping. It's far easier to bring a quiet take up in the mix than to fix a distorted one.
Monitor through closed-back headphones, not speakers — open-back cans and speaker bleed both get picked up by the mic and show up as faint phase-y noise under your vocal once you zoom in. Keep the beat at a level where you can hear pitch and timing clearly without it fighting your own voice in your ears.
Common mistakes that quietly ruin a good take
A few things separate a home vocal that sits in the mix from one that fights it, and none of them are about gear:
Recording too hot. Clipping is permanent — you can't un-distort a vocal in the mix. Leave headroom.
Ignoring room noise. AC units, fans, and fridges are invisible while you're performing and obvious the second you solo the track. Do a 10-second silent test recording before you start and listen back on headphones.
Editing out every breath. Breaths are part of a performance feeling human. Trim the loud, distracting ones — don't chase silence between every line.
Not warming up. Two minutes of humming or light scales before you record noticeably changes tone and pitch control on the first take, not just the fifth.
Record more than one take
Don't chase a single perfect pass. Record three or four full takes of a verse or hook, then comp the best lines from each into one composite. Even artists with major-label budgets work this way — it's not a shortcut, it's just how vocal takes get finished.
The best home vocal isn't the one take that was perfect. It's the four takes you were willing to comp together.
What to send if someone else is mixing it
If you're handing the song off to an engineer, export your comped vocal as a dry, unprocessed WAV — no reverb, no autotune baked in, ideally at the same sample rate as the beat. If your license includes stems, send those along too so the engineer can work with the instrumental in pieces instead of a single bounced-down file. Not sure which of our license tiers include stems? Professional and Unlimited both do.
Recording the vocal is genuinely the hard part. Once that take is in the bag, the rest is just decisions.
Quick answers
Can I record vocals on my phone? Yes, in a pinch — a phone's built-in mic works far better in a treated, quiet room than a good mic does in an untreated one. It's not ideal long-term, but it won't stop you from finishing a song today.
Do I need a treated studio room? No — a closet, a blanket fort, or any small carpeted room with soft furniture will get you most of the way there. Full acoustic treatment is a later upgrade, not a prerequisite.
How loud should my vocal be compared to the beat? Loud enough to sit clearly on top without the beat disappearing. As a rough starting point during tracking, aim for the vocal to read a few dB louder than the loudest instrumental element — you'll balance it properly once you mix.